BLUE REFLECTION Quartet Second Light Party Tier List (Pre-Launch)
Relative rankings for Ao's roster and Quartet-exclusive recruits—subject to change when launch balance is verified.
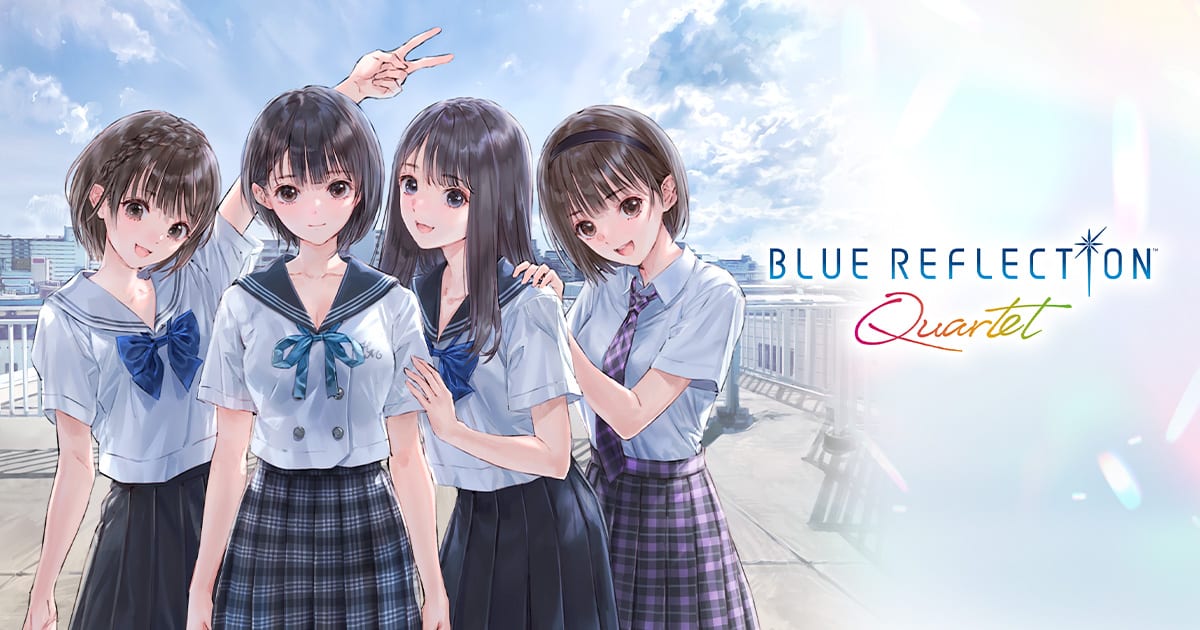
This tier list covers BLUE REFLECTION: Second Light inside BLUE REFLECTION Quartet, including eight optional party members imported from RAY and SUN. Rankings reflect pre-launch analysis of Second Light’s Gear/Fragment meta, official manual emphasis on Ether Recovery Speed, and announced Quartet recruitment quests—not post-launch DPS testing. Quartet balance may differ from the standalone 2021 release; revisit after July 2026 and track patches on updates.
Tier definitions
| Tier | Meaning (pre-launch) |
|---|---|
| S | Consistently strong Ether Recovery, flexible Fragments, high Support Order value |
| A | Excellent in defined roles; minor setup or investment needed |
| B | Viable main-party members with clear weaknesses or late activation |
| C | Situational picks, bench Supporters, or high investment for modest payoff |
Letters compare characters within Second Light, not against SUN squad members on another save file.
S Tier — Core pillars
Ao Hoshizaki (protagonist) — Narrative mandatory leader with balanced growth curves and access to story skills that simplify first-time Gear learning. Center-slot back attacks reward placing Ao there when you control Search Mode openings. Even if endgame specialists out-damage her, Ao remains S for account-wide investment efficiency on a first Quartet clear.
Rena (healer archetype) — Second Light’s most reliable recovery loop in community clears of the original release. Healing that activates without Gear 5 setup stabilizes Timeline tempo for Ether Tide routes. Quartet newcomers should prioritize Rena Dates for Recovery Fragments before min-maxing optional imports.
Kokoro (break / tempo) — Strong attribute coverage and knockback tools in series materials; excels at delaying boss icons while combos climb. Fragment pools skew toward Attack and Skill types that activate at mid Gear—pair with builds emphasizing Ether Recovery Speed on-skill.
A Tier — Workhorse roles
Nina — High burst potential when Gear peaks, but slightly slower early activation than Kokoro. Moves to S with dedicated Talent investment and Gear 5 cap unlocks; on blind first runs, treat as A until Fragments mature.
Hiori (Quartet import) — RAY crossover with flexible Support Orders once recruited. Value rises if you played RAY first and understand her narrative buffs; otherwise recruitment quest time pushes her below native cast until mid-game.
Shiho (Quartet import) — SUN Leader archetype adapted to Support/healing flex. Strong bench Orders for item cycles documented in items. Competes with Rena for slots—usually not both on front line unless fight demands double recovery.
Yuki (series healer/support) — Dependable cleanses and defensive Orders in Second Light story beats. Less flashy than Rena but easier to keep at Gear 2 Fragment activation thresholds.
B Tier — Situational mains and specialists
Uka (tank / guard) — Useful when enemies spam combo-breaking hits; Timeline stabilization without top-tier DPS. Bring for specific boss patterns referenced in the Second Light walkthrough, not as permanent center-slot DPS.
Kaori (magical burst) — Spikes damage after long Gear setups; outclassed by faster A-tier breakers unless you enjoy her Date Fragment line. Benefits from combat Knockdown setups.
Quartet RAY/SUN guests (remaining slots) — Characters such as Ruka, Kirara, and Kanna imports offer unique Orders and Reference database episodes. Treated as B by default because recruitment timing arrives after core Gear tutorials; they climb to A when built for affinity content or Photo Mode completion, not raw story efficiency.
Lemon and Lime cameos — Support-adjacent roles with nostalgia value from original BLUE REFLECTION. Bench priority unless you lack break coverage.
C Tier — Bench and novelty
Photo Mode / episode-only allies — Units you recruit primarily for Gallery or Reference milestones. Combat investment rarely returns before finale unless you are over-leveling optional zones.
Duplicate-role imports — If a Quartet guest mirrors Kokoro or Rena without additive Orders, they stay C for first-clear efficiency even if story fans rank them higher emotionally.
Party construction tips
Standard first-clear trio template:
- Center slot — Ao or Kokoro for back-attack Ether bonus and combo start.
- Recovery — Rena or Yuki with Gear 2 Recovery Fragments.
- Flex — Nina burst or Uka guard depending on boss guide notes.
Bench Supporters should cover item use and Order rings—see combat for Order timing. Avoid leveling every Quartet import simultaneously; Requests and Dates spread thin quickly.
When to ignore tiers
Play who you bonded with in SUN or RAY if this is a sentiment run. Tiers optimize combat time, not emotional payoff. Second Light’s finale is surmountable with B-tier teams if items and Gear basics are respected.
Related pages
Mechanics: combat, builds. SUN rankings: SUN squad tier list. Hub overview: tier list.
Frequently Asked Questions
Quick answers to the most common questions.
Is this tier list accurate for Quartet on day one?
It is a pre-launch estimate. Quartet adds characters and QoL; expect changes after community testing and patches on updates.
Should I recruit every Quartet import?
Not for a first efficient clear. Recruit guests when quests appear, but invest Talents in S/A core cast first.
Who is the best healer in Second Light?
Rena remains the default S-tier healer in pre-launch rankings, with Yuki and Shiho as flexible alternatives.
Does Ao fall off in endgame?
Specialists may out-damage her, but Ao stays efficient for story progression and back-attack openings throughout.
Where do Fragment choices affect these tiers?
Talents and Dates can raise B-tier characters with early Active Gear pieces—see fragments and bonds.